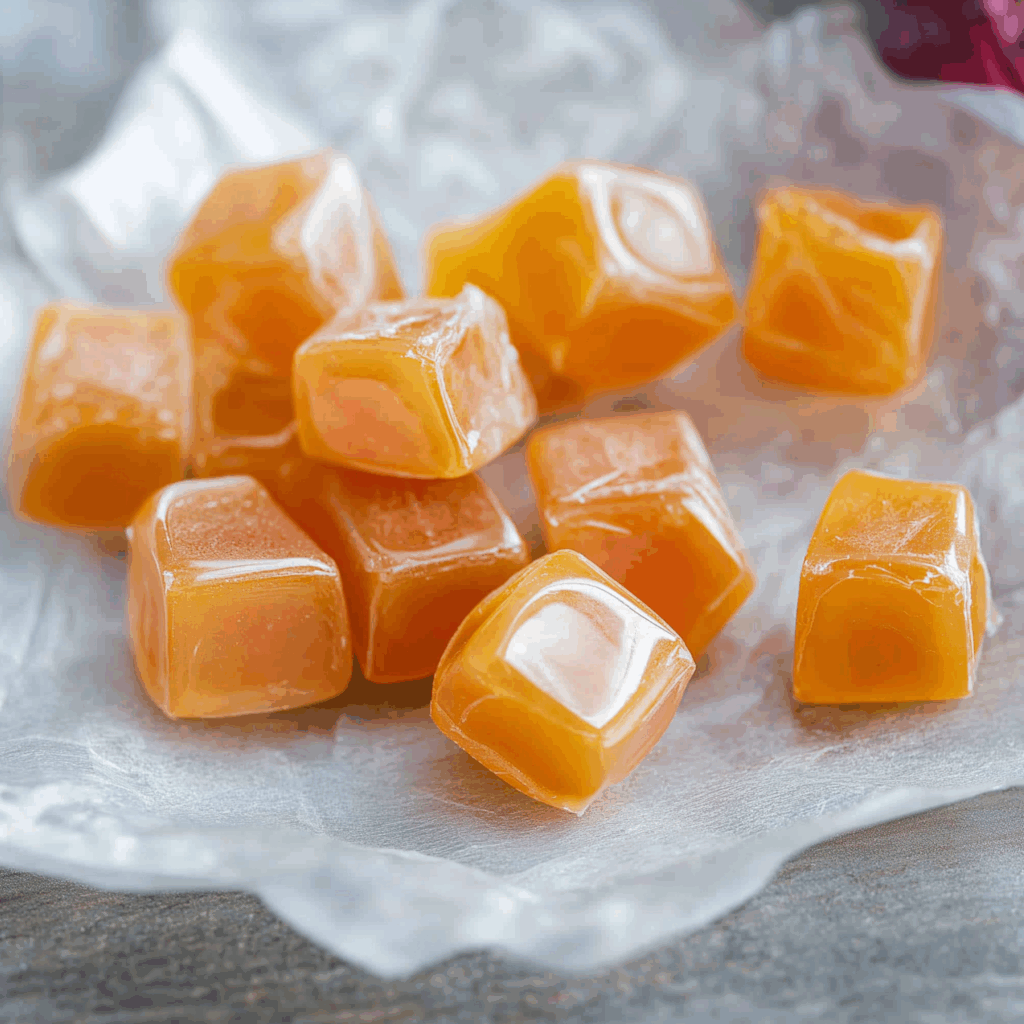
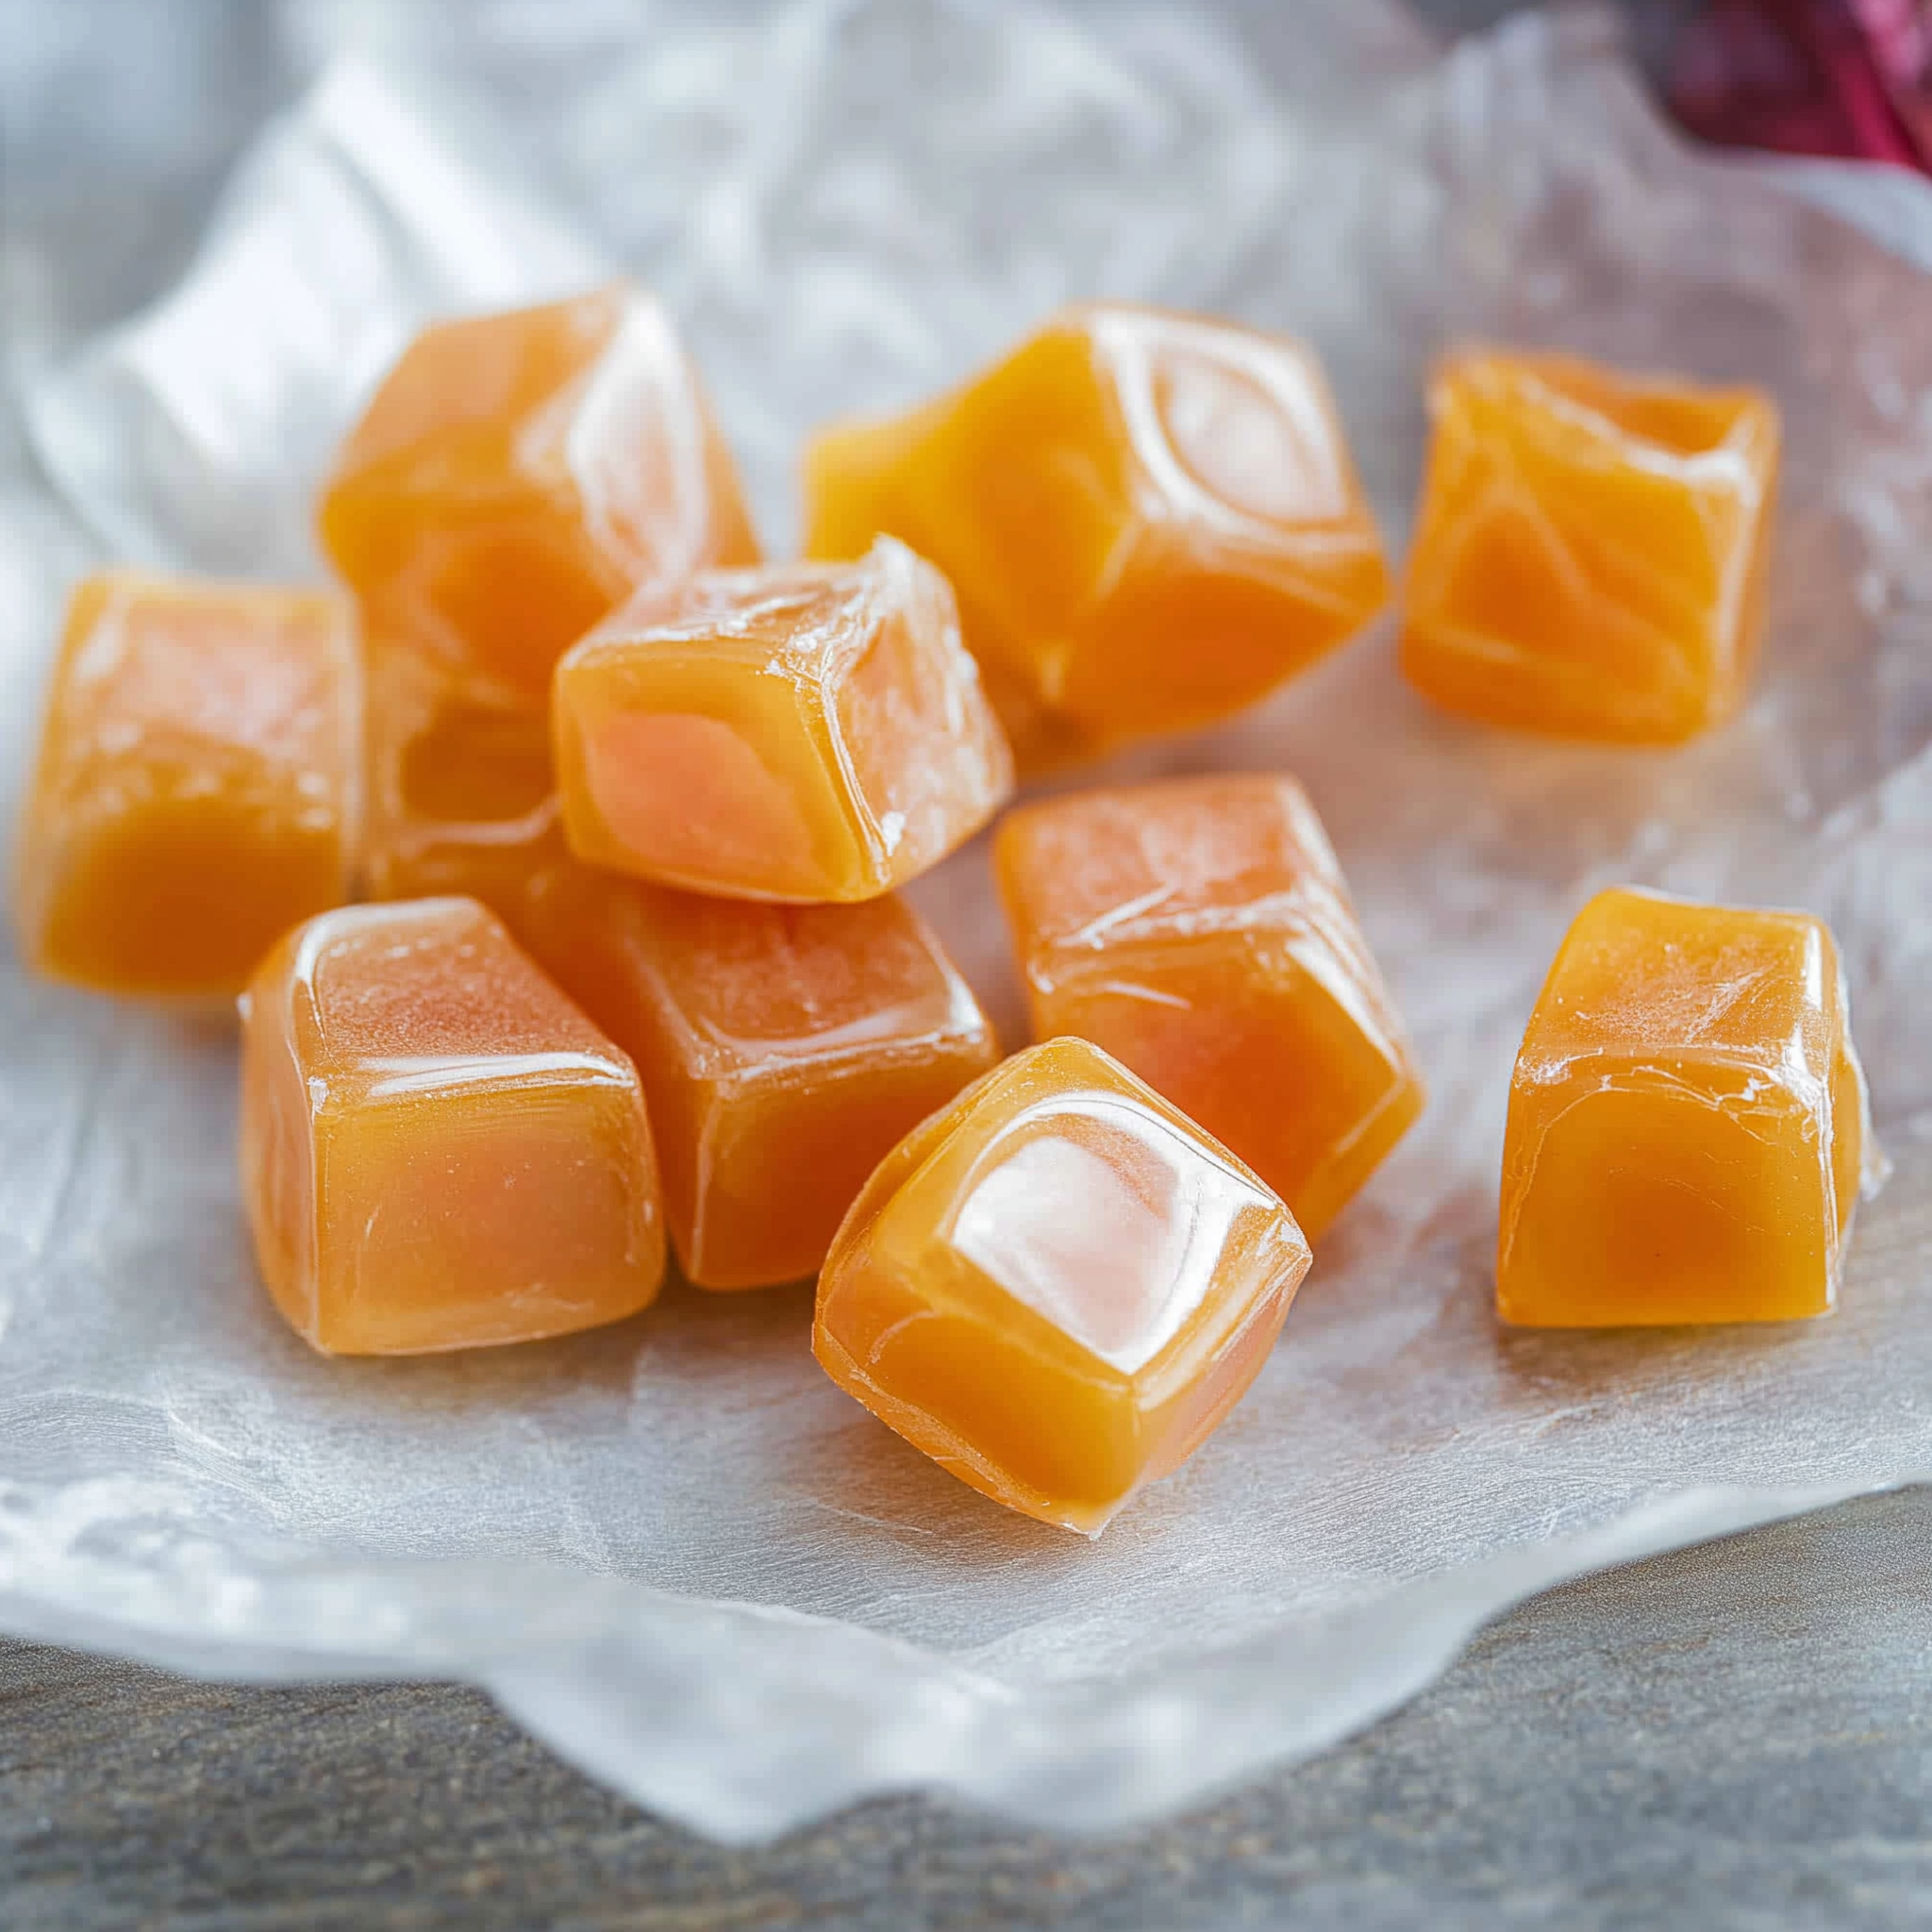
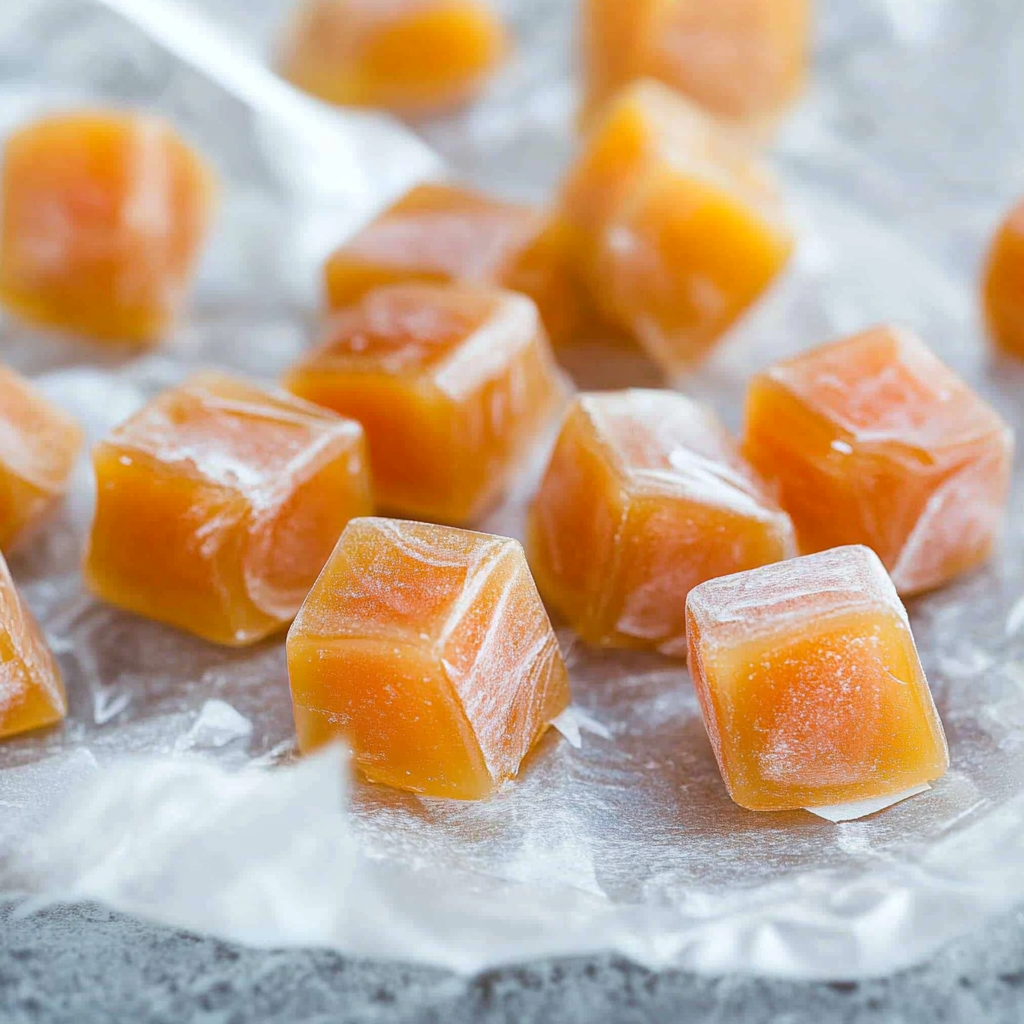
Making Homemade Sugar Free Hard Candy is a delightful way to enjoy sweet treats without the guilt. This recipe allows you to customize flavors and colors, making it perfect for parties, holidays, or simply satisfying your sweet tooth. With just a few simple ingredients and steps, you can create delicious hard candy that everyone will love!
Jump to:
- Why You’ll Love This Recipe
- Tools and Preparation
- Essential Tools and Equipment
- Importance of Each Tool
- Ingredients
- For the Candy Base
- For Molding
- How to Make Homemade Sugar Free Hard Candy
- Step 1: Melt the Butter
- Step 2: Combine Ingredients
- Step 3: Cook Until Bubbling
- Step 4: Add Color
- Step 5: Mold the Candy
- Step 6: Cool and Set
- How to Serve Homemade Sugar Free Hard Candy
- As Party Favors
- In Gift Baskets
- At Movie Nights
- For Holiday Celebrations
- How to Perfect Homemade Sugar Free Hard Candy
- Best Side Dishes for Homemade Sugar Free Hard Candy
- Common Mistakes to Avoid
- Storage & Reheating Instructions
- Refrigerator Storage
- Freezing Homemade Sugar Free Hard Candy
- Reheating Homemade Sugar Free Hard Candy
- Frequently Asked Questions
- Can I use different sweeteners for Homemade Sugar Free Hard Candy?
- How do I customize flavors in my Homemade Sugar Free Hard Candy?
- What is the best way to remove my Homemade Sugar Free Hard Candy from molds?
- Can I add fruit juice instead of sweetener in my Homemade Sugar Free Hard Candy?
- Why did my Homemade Sugar Free Hard Candy turn out sticky?
- Final Thoughts
- 📖 Recipe Card
Why You’ll Love This Recipe
- Customizable Flavors: You can easily add your favorite flavors and colors to make each batch unique.
- Quick and Simple: The entire process takes only 20 minutes from start to finish, making it a breeze to whip up.
- Sugar-Free Option: Enjoy a sweet treat without the added sugar, making it suitable for various dietary preferences.
- Fun for All Occasions: Perfect for parties, holidays, or as homemade gifts that showcase your creativity.
- Healthy Alternative: A great way to satisfy your candy cravings while keeping calories in check.
Tools and Preparation
Before you start cooking, gather the necessary tools. Having everything ready will make the process smoother.
Essential Tools and Equipment
- Small saucepan
- Silicone candy molds
- Spoon or spatula
- Measuring cups and spoons
- Refrigerator
Importance of Each Tool
- Small saucepan: Ideal for melting ingredients evenly over medium heat without burning.
- Silicone candy molds: These make it easy to remove the candies once they are set and provide fun shapes.
- Spoon or spatula: Helps in stirring the mixture thoroughly and pouring it into molds with precision.
Ingredients
Make Keto Hard Candy that’s totally sugar free and customizable to your favorite flavors.
For the Candy Base
- 2 tbsp unsalted butter
- 1/4 cup keto honey
- 4 tbsp sugar free sweetener
- 1/4 tsp citric acid (optional)
- Food coloring
For Molding
- Silicone candy molds
How to Make Homemade Sugar Free Hard Candy
Step 1: Melt the Butter
Heat a small saucepan over medium heat and add the unsalted butter. Allow it to melt completely.
Step 2: Combine Ingredients
Once the butter has melted, lower the heat to low medium. Add in the keto honey, sugar free sweetener, and citric acid. Stir until all ingredients are well combined.
Step 3: Cook Until Bubbling
Continue cooking until the mixture becomes frothy with large bubbles starting to form. This should take about 10-15 seconds after you see those large bubbles.
Step 4: Add Color
If you’re using food coloring, stir it into the mixture now until you achieve your desired shade.
Step 5: Mold the Candy
Working quickly, pour the melted candy mixture into your prepared silicone molds. Ensure each mold is filled evenly.
Step 6: Cool and Set
Refrigerate the molds until the candy has fully hardened. Once set, carefully remove each piece from the mold.
Enjoy your homemade sugar free hard candy as a guilt-free treat that pleases both kids and adults alike!
How to Serve Homemade Sugar Free Hard Candy
Homemade Sugar Free Hard Candy is a delightful treat that can be enjoyed in various ways. Whether you’re hosting a party or simply indulging yourself, these candies add a fun touch to any occasion.
As Party Favors
- Present individual pieces in small bags for guests to take home as sweet reminders of your gathering.
In Gift Baskets
- Combine your homemade candy with other goodies like nuts or dried fruits to create a personalized gift basket for friends and family.
At Movie Nights
- Serve these candies in cute bowls alongside popcorn for a sweet and salty movie night experience.
For Holiday Celebrations
- Use colorful molds to create festive shapes for holidays, making them the perfect addition to holiday dessert tables.
How to Perfect Homemade Sugar Free Hard Candy
To achieve the best results with your Homemade Sugar Free Hard Candy, follow these essential tips.
- Use a precise thermometer: A candy thermometer ensures that your mixture reaches the correct temperature, resulting in perfectly hard candies.
- Stir gently: Over-stirring can introduce air bubbles into the mixture. Stir just enough to combine ingredients without creating foam.
- Choose quality sweeteners: Opt for high-quality sugar-free sweeteners that suit your taste preferences for the best flavor.
- Cool properly: Allow the candy mixture to cool slightly before pouring it into molds; this prevents spills and ensures clean edges on your candies.
Best Side Dishes for Homemade Sugar Free Hard Candy
While Homemade Sugar Free Hard Candy is delightful on its own, pairing it with other treats can enhance your snacking experience. Here are some tasty side dishes to consider:
- Fruit Skewers: Fresh fruit adds a refreshing contrast to the sweetness of candy. Consider using strawberries, grapes, and pineapple chunks.
- Nut Mix: A mix of your favorite nuts provides a crunchy texture that complements the soft sweetness of the hard candy.
- Cheese Platter: Pairing cheese with candy creates an interesting flavor profile. Opt for mild cheeses like brie or cream cheese.
- Popcorn: Sweet and salty popcorn makes an excellent side. Try drizzling melted dark chocolate over popcorn for added indulgence.
- Veggie Sticks with Hummus: Crunchy veggies paired with creamy hummus offer a healthy balance against the sweetness of the candy.
- Yogurt Parfaits: Layer yogurt with granola and fresh fruit to create a balanced snack that complements your sugar-free treats.
Common Mistakes to Avoid
- Make sure not to skip the melting step. Failing to properly melt the butter can lead to uneven candy texture. Ensure the butter is fully melted before adding other ingredients.
- Avoid using too much citric acid. While it adds flavor, too much can make the candy overly sour. Stick to 1/4 teaspoon for a balanced taste.
- Don’t rush the cooking process. Cooking the mixture too quickly may prevent it from reaching the right consistency. Allow it to bubble for 10-15 seconds after large bubbles form.
- Be careful with food coloring. Adding too much can alter the candy’s texture and taste. Start with a few drops and adjust as needed.
- Remember to work quickly when pouring into molds. The mixture will harden fast, so pour immediately after mixing.
Storage & Reheating Instructions
Refrigerator Storage
- Store in an airtight container at room temperature for up to 2 weeks.
- Keep away from direct sunlight and moisture.
Freezing Homemade Sugar Free Hard Candy
- Wrap candies individually in plastic wrap for best results.
- Store in a freezer-safe bag or container for up to 3 months.
Reheating Homemade Sugar Free Hard Candy
- Oven: Preheat to 200°F (93°C) and place candies on a baking sheet for a few minutes until they soften.
- Microwave: Heat on low power in short bursts of 10 seconds until just softened; be careful not to melt completely.
- Stovetop: Use a non-stick pan over low heat, stirring gently until candies soften.
Frequently Asked Questions
Here are some common questions about making Homemade Sugar Free Hard Candy that may help you.
Can I use different sweeteners for Homemade Sugar Free Hard Candy?
Yes, you can experiment with various sugar-free sweeteners like erythritol or stevia, but check their melting points for best results.
How do I customize flavors in my Homemade Sugar Free Hard Candy?
You can add extracts like vanilla, mint, or fruit essences to create your desired flavor profile. Just a few drops will enhance the taste!
What is the best way to remove my Homemade Sugar Free Hard Candy from molds?
Make sure the candy has fully hardened before attempting removal. Gently twist the silicone mold or use a spatula if needed.
Can I add fruit juice instead of sweetener in my Homemade Sugar Free Hard Candy?
While fruit juices can add flavor, they contain natural sugars. You might want to dilute them with water and adjust other sweeteners accordingly.
Why did my Homemade Sugar Free Hard Candy turn out sticky?
Sticky candy may result from humidity or not cooking long enough. Ensure proper cooking time and store in cool, dry conditions.
Final Thoughts
Making Homemade Sugar Free Hard Candy is both fun and rewarding! This recipe offers endless customization options, allowing you to tailor flavors and colors to your preference. Enjoy crafting these delightful treats while keeping them healthy!
Did You Enjoy Making This Recipe? Please rate this recipe with ⭐⭐⭐⭐⭐ or leave a comment.
📖 Recipe Card
Print
Homemade Sugar Free Hard Candy
- Total Time: 20 minutes
- Yield: Approximately 10 pieces 1x
Description
Satisfy your sweet tooth with this easy recipe for Homemade Sugar Free Hard Candy! Customize flavors and enjoy guilt-free treats today!
Ingredients
- 2 tbsp unsalted butter
- 1/4 cup keto honey
- 4 tbsp sugar-free sweetener
- 1/4 tsp citric acid (optional)
- Food coloring (optional)
- Silicone candy molds
Instructions
- Melt the butter in a small saucepan over medium heat until fully liquefied.
- Lower the heat to low-medium and mix in keto honey, sugar-free sweetener, and citric acid until well combined.
- Cook until the mixture starts bubbling frothily, about 10-15 seconds after large bubbles form.
- If desired, stir in food coloring until you achieve your preferred hue.
- Quickly pour the mixture into prepared silicone molds, ensuring even filling.
- Refrigerate until fully set before carefully removing from molds.
- Prep Time: 5 minutes
- Cook Time: 15 minutes
- Category: Dessert
- Method: Cooking
- Cuisine: American
Nutrition
- Serving Size: 1 piece (15g)
- Calories: 35
- Sugar: 0g
- Sodium: 5mg
- Fat: 1.5g
- Saturated Fat: 1g
- Unsaturated Fat: 0.5g
- Trans Fat: 0g
- Carbohydrates: 6g
- Fiber: 0g
- Protein: 0g
- Cholesterol: 5mg