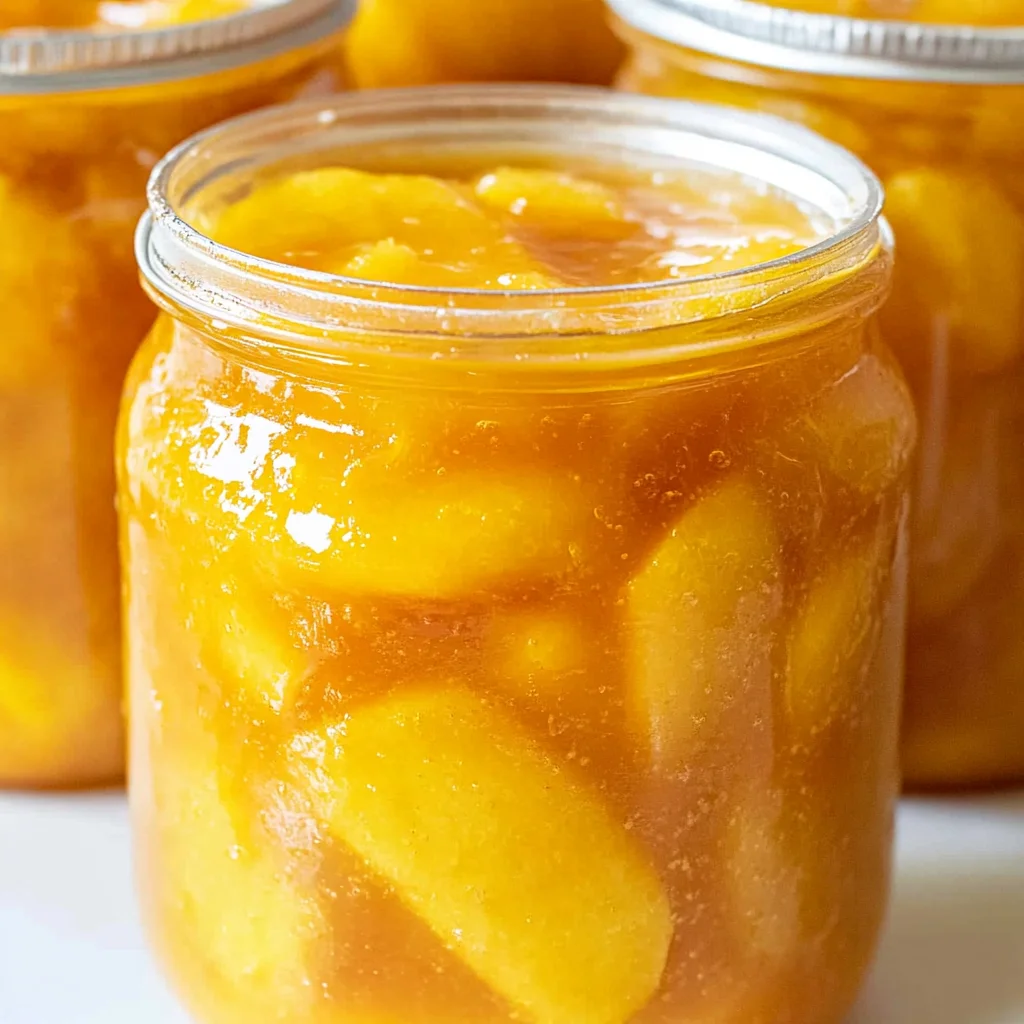
This Homemade Canned Peach Pie Filling is a delightful way to capture the essence of summer peaches and enjoy them throughout the year. Perfect for baking delicious pies, crisps, or cobblers, this recipe combines fresh peaches with a rich, spiced filling that is sure to impress at any gathering. The easy water bath canning method allows you to preserve this sweet treat safely and effectively.
Jump to:
- Why You’ll Love This Recipe
- Tools and Preparation
- Essential Tools and Equipment
- Importance of Each Tool
- Ingredients
- How to Make Homemade Canned Peach Pie Filling
- Step 1: Prepare Jars
- Step 2: Prepare Peaches
- Step 3: Blanch Slices
- Step 4: Make Filling Base
- Step 5: Add Lemon Juice and Spices
- Step 6: Add Peaches
- Step 7: Fill Jars
- Step 8: Process Jars
- Step 9: Cool and Store
- How to Serve Homemade Canned Peach Pie Filling
- As a Pie Filling
- In Peach Crisp
- On Pancakes or Waffles
- With Yogurt
- As an Ice Cream Topping
- How to Perfect Homemade Canned Peach Pie Filling
- Best Side Dishes for Homemade Canned Peach Pie Filling
- Common Mistakes to Avoid
- Storage & Reheating Instructions
- Refrigerator Storage
- Freezing Homemade Canned Peach Pie Filling
- Reheating Homemade Canned Peach Pie Filling
- Frequently Asked Questions
- How long does Homemade Canned Peach Pie Filling last?
- Can I use frozen peaches?
- What is the best way to thicken my Homemade Canned Peach Pie Filling?
- Can I substitute other fruits in this recipe?
- Is it safe to adjust sugar levels?
- Final Thoughts
- 📖 Recipe Card
Why You’ll Love This Recipe
- Easy to Make: This simple recipe requires minimal prep and cooking time, making it perfect for beginners and experienced canners alike.
- Versatile Use: Ideal for pies, crisps, or even as a topping for ice cream, this peach pie filling adds a burst of flavor to many desserts.
- Long Shelf Life: When stored properly, your homemade filling can last up to one year, ensuring you have delicious peach goodness on hand whenever you crave it.
- Fresh Flavor: Using ripe peaches ensures a vibrant taste that outshines store-bought alternatives by miles.
- Customizable Spice: Adjust the spices to fit your taste by adding more cinnamon or nutmeg for an extra flavor kick.
Tools and Preparation
Before diving into making your homemade canned peach pie filling, gather the necessary tools. Having everything ready will streamline the process and ensure success.
Essential Tools and Equipment
- Canning jars (quart-size)
- Water bath canner
- Large pot
- Measuring cups and spoons
- Whisk
- Ladle
Importance of Each Tool
- Canning jars: These are essential for preserving your filling safely. They create a vacuum seal that keeps contents fresh.
- Water bath canner: This tool helps in processing jars efficiently to ensure they are safe for long-term storage.
- Large pot: A spacious pot allows for even cooking when combining ingredients and prevents spills.
- Ladle: For transferring hot filling into jars without mess.
Ingredients
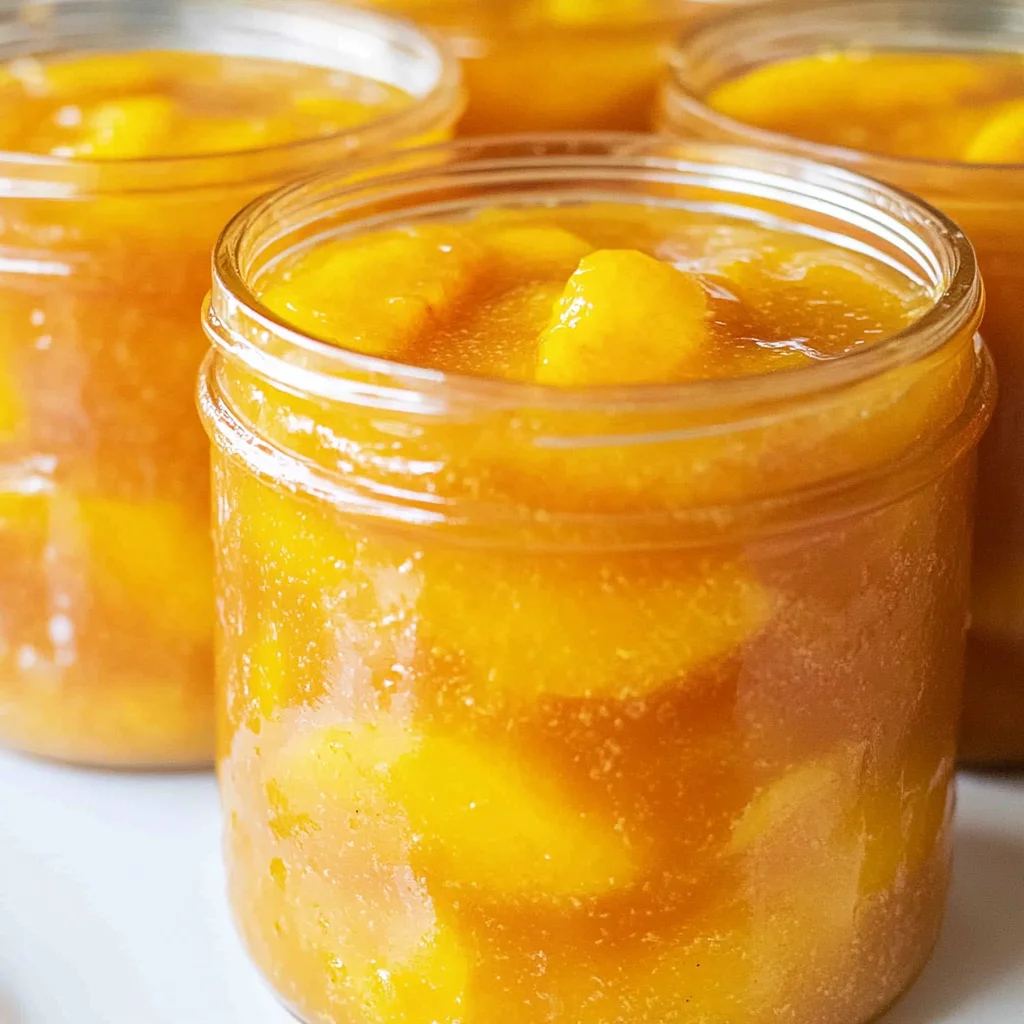
This homemade canned peach pie filling is a sweet, spiced preserve made with fresh peaches and a thick, silky base—perfect for baking pies, crisps, or cobblers year-round. With this easy water bath canning method, you can enjoy the flavor of summer peaches even in winter.
Ingredients (for 4–5 quarts)
* 6 quarts fresh peaches, peeled, pitted, and sliced (about 24–30 medium peaches)
* 7 cups granulated sugar
* 2 cups cold water
* 1¾ cups clear jel (cook-type, not instant)
* 5¼ cups peach juice or water (from peaches or bottled)
* ½ cup bottled lemon juice
* 1½ teaspoons ground cinnamon (optional)
* ½ teaspoon ground nutmeg (optional)
How to Make Homemade Canned Peach Pie Filling
Step 1: Prepare Jars
Wash and sterilize 4–5 quart-size canning jars. Keep them warm until you’re ready to fill them.
Step 2: Prepare Peaches
Blanch the peaches in boiling water for 30–60 seconds before transferring them to an ice bath. Peel, pit, and slice them. To prevent browning, soak slices in water mixed with lemon juice or ascorbic acid.
Step 3: Blanch Slices
Boil sliced peaches in batches for about 1 minute. Drain them well and keep warm while you prepare the filling base.
Step 4: Make Filling Base
In a large pot, whisk together the granulated sugar and clear jel. Gradually stir in 2 cups of cold water along with 5¼ cups of peach juice (or water). Cook over medium-high heat while stirring constantly until the mixture thickens and begins to bubble.
Step 5: Add Lemon Juice and Spices
Stir in the bottled lemon juice along with ground cinnamon and nutmeg if desired. Boil this mixture for an additional minute.
Step 6: Add Peaches
Gently fold in the warm peach slices. Return the mixture to a boil while stirring carefully.
Step 7: Fill Jars
Using a ladle, pour the hot filling into your warm jars while leaving about 1 inch of headspace at the top. Remove any air bubbles by inserting a spatula around the edges of each jar. Wipe down the rims with a clean cloth before sealing with lids and bands.
Step 8: Process Jars
Place all filled jars into your boiling water bath canner. Process them for about 30 minutes, adjusting the time based on your altitude if necessary.
Step 9: Cool and Store
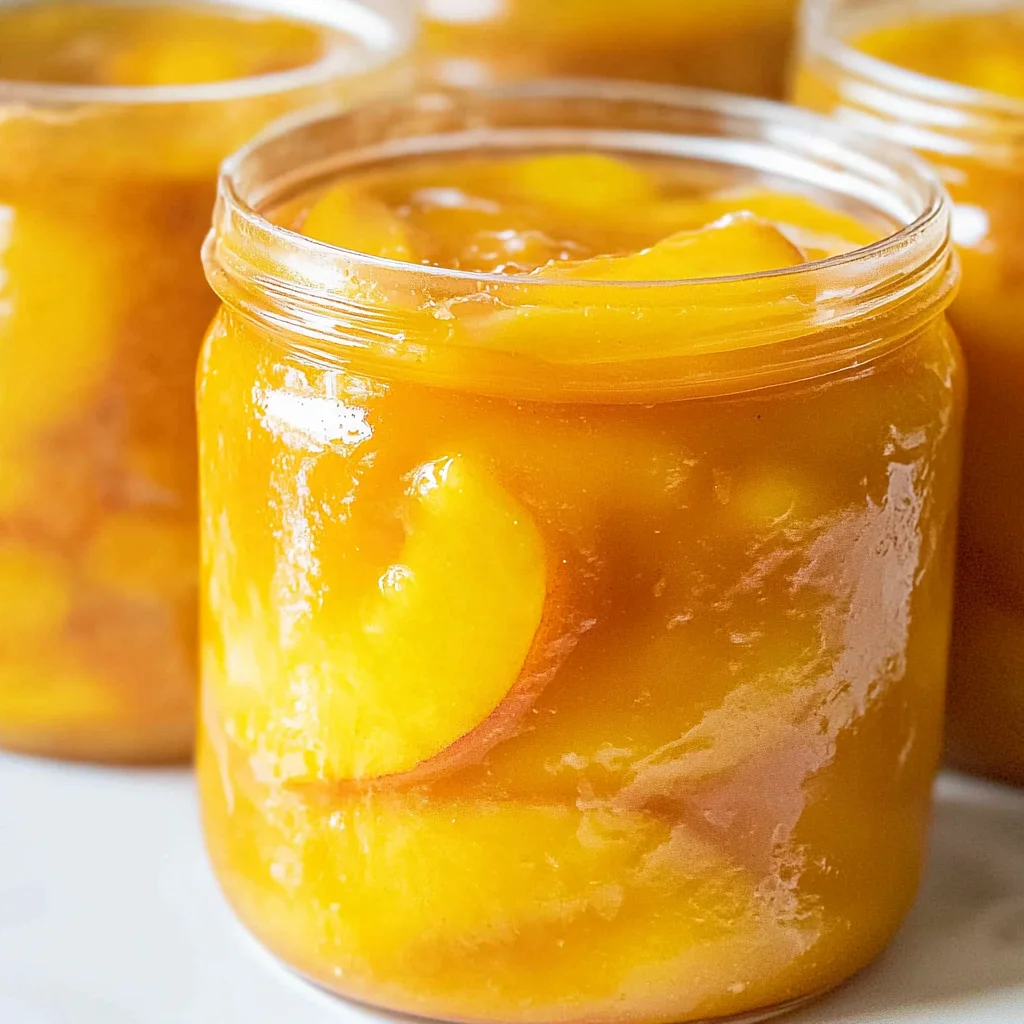
Let your jars sit undisturbed for 12–24 hours after processing. Check that each jar has sealed correctly before labeling them. Store in a cool, dark place where they will stay good for up to one year.
How to Serve Homemade Canned Peach Pie Filling
This delicious homemade canned peach pie filling is versatile and can be enjoyed in various ways. Whether you’re baking a pie or looking for a sweet topping, there are plenty of options to savor the bright flavor of peaches.
As a Pie Filling
- Use as a traditional filling for your favorite pie crust. Simply pour into a prepared crust, top with another layer, and bake until golden.
In Peach Crisp
- Layer the filling in a baking dish and top with a crumbly mixture of oats, flour, and butter. Bake until bubbly for a delightful dessert.
On Pancakes or Waffles
- Warm the peach pie filling and drizzle it over pancakes or waffles for a fruity breakfast treat.
With Yogurt
- Spoon the filling over plain or flavored yogurt for a quick and refreshing snack that adds sweetness and flavor.
As an Ice Cream Topping
- Heat gently and pour over vanilla ice cream for an indulgent dessert that’s perfect for summer nights.
How to Perfect Homemade Canned Peach Pie Filling
To ensure your homemade canned peach pie filling turns out perfectly every time, consider these essential tips:
- Choose ripe peaches: Select fresh, ripe peaches for the best flavor. Under-ripe or overripe peaches can affect the taste and texture of your filling.
- Use Clear Jel: Make sure to use cook-type Clear Jel for thickening as it is safe for canning and provides a smooth texture.
- Maintain acidity: Always use bottled lemon juice to ensure proper acidity levels, which are crucial for safe canning.
- Avoid air bubbles: When filling jars, remove air bubbles by running a spatula around the inside before sealing to prevent jar breakage during processing.
- Process correctly: Follow water bath canning guidelines carefully, adjusting processing times based on your altitude to ensure safety.
Best Side Dishes for Homemade Canned Peach Pie Filling
Pairing side dishes with your peach desserts enhances their flavors. Here are some great options that complement homemade canned peach pie filling:
- Vanilla Ice Cream: A scoop of creamy vanilla ice cream balances the sweetness of peach desserts perfectly.
- Whipped Cream: Lightly sweetened whipped cream adds an airy touch that enhances any peach dish.
- Cinnamon Roll Muffins: These fluffy muffins bring warmth and spice that pairs wonderfully with peaches.
- Granola Bars: Crunchy granola bars make for a tasty snack alongside peach-filled treats.
- Cheese Plate: A selection of soft cheeses like brie or goat cheese contrasts nicely with the sweetness of peaches.
- Fruit Salad: A refreshing fruit salad with seasonal berries complements the flavor profile of peaches beautifully.
Common Mistakes to Avoid
Canning can be a delightful experience, but certain mistakes can affect the quality and safety of your homemade canned peach pie filling. Here’s what to watch for:
- Bold preparation: Skipping the sterilization of jars can lead to spoilage. Always wash and sterilize your jars before filling them to ensure a safe product.
- Bold using the wrong ingredient: Using instant Clear Jel instead of cook-type Clear Jel may cause issues with thickening. Stick to cook-type Clear Jel for safe and effective canning.
- Bold neglecting headspace: Not leaving enough headspace in jars can cause overflow during processing. Aim for 1 inch of headspace to allow for expansion.
- Bold ignoring acidity: Failing to use bottled lemon juice may result in unsafe acidity levels. Always include bottled lemon juice for consistent safety.
- Bold overfilling jars: Filling jars too much can prevent proper sealing. Be mindful of the recommended headspace for best results.
Storage & Reheating Instructions
Refrigerator Storage
- Store opened jars in the refrigerator.
- Use within 1–2 weeks for best freshness.
Freezing Homemade Canned Peach Pie Filling
- Freeze unused filling in airtight containers.
- It’s best used within 6 months for optimal flavor.
Reheating Homemade Canned Peach Pie Filling
- Oven: Preheat to 350°F (175°C) and heat filling until warm, about 15–20 minutes.
- Microwave: Heat in a microwave-safe bowl for 1–2 minutes, stirring halfway through.
- Stovetop: Warm over medium heat in a saucepan, stirring gently until heated through.
Frequently Asked Questions
Here are some common questions about making homemade canned peach pie filling:
How long does Homemade Canned Peach Pie Filling last?
When stored properly, it can last up to 1 year in a cool, dark place.
Can I use frozen peaches?
Yes! You can use frozen peaches, but ensure they are thawed and drained before preparing the filling.
What is the best way to thicken my Homemade Canned Peach Pie Filling?
Using cook-type Clear Jel will give you the best thickening results without compromising safety.
Can I substitute other fruits in this recipe?
Absolutely! You can substitute or mix in other fruits like nectarines or apricots while keeping the same method.
Is it safe to adjust sugar levels?
You can reduce sugar slightly, but significant changes may affect preservation and taste.
Final Thoughts
This homemade canned peach pie filling is not only delicious but also versatile, making it an excellent addition to various desserts throughout the year. Feel free to customize it with different spices or fruits to suit your taste. Enjoy baking with this delightful filling!
Did You Enjoy Making This Recipe? Please rate this recipe with ⭐⭐⭐⭐⭐ or leave a comment.
📖 Recipe Card
Print
Homemade Canned Peach Pie Filling
- Total Time: 1 hour
- Yield: Approximately 10 servings per quart jar 1x
Description
Indulge in the taste of summer all year round with this Homemade Canned Peach Pie Filling. A perfect blend of fresh peaches, fragrant spices, and a thick, sweet base makes this filling an essential addition to your pantry. Whether you’re whipping up a classic peach pie, creating a luscious crisp, or simply topping your breakfast pancakes, this versatile recipe captures the essence of ripe peaches and preserves it for future enjoyment. Easy to make using the water bath canning method, you’ll find that this filling not only brightens your desserts but also impresses family and friends at any gathering.
Ingredients
- 6 quarts fresh peaches, peeled, pitted, and sliced
- 7 cups granulated sugar
- 2 cups cold water
- 1¾ cups Clear Jel (cook-type)
- 5¼ cups peach juice or water
- ½ cup bottled lemon juice
- 1½ teaspoons ground cinnamon (optional)
- ½ teaspoon ground nutmeg (optional)
Instructions
- Sterilize 4–5 quart-size canning jars and keep them warm.
- Blanch peaches in boiling water for 30–60 seconds; soak in lemon juice solution to prevent browning.
- Heat sliced peaches in batches for about a minute; drain and keep warm.
- In a large pot, combine sugar and Clear Jel; stir in cold water and peach juice. Cook over medium heat until thickened.
- Add lemon juice and spices; boil for an additional minute.
- Fold in warm peach slices and bring to a boil again.
- Pour the hot mixture into jars, leaving 1 inch headspace. Remove air bubbles and seal jars properly.
- Process jars in a boiling water bath for about 30 minutes.
- Prep Time: 30 minutes
- Cook Time: 30 minutes
- Category: Dessert
- Method: Canning
- Cuisine: American
Nutrition
- Serving Size: 1/2 cup (120g)
- Calories: 210
- Sugar: 52g
- Sodium: 0mg
- Fat: 0g
- Saturated Fat: 0g
- Unsaturated Fat: 0g
- Trans Fat: 0g
- Carbohydrates: 55g
- Fiber: 2g
- Protein: <1g
- Cholesterol: 0mg

